So... Cake Pops. Yeah.
I know these can be one of the most difficult things home-bakers take on to make themselves and they sometimes turn out and they sometimes look like this:
A few years ago, my Wilton Instructor, Karen came over to my house and taught a few of her students (myself included) how to "officially" make cake pops. Her class was invaluable and so I opted to do the same and offer a class to some of my friends and students who really wanted to conquer the cake pop. They're not difficult when you know how to make them correctly. Time consuming, yes. But not difficult.
STEP ONE: Cake Pop "Dough"
The first thing you work on is the cake pop itself. You want to keep the cake pop a cake-y consistency. I'll never forget one of the first times I made cake pops I added way too much frosting to my mix and they were, as my mom called, "kinda gluppy." My dad actually spit his out and thought they were "raw." I had to assure him, they were made out of cake and frosting (and then made a mental note to call Karen...STAT!!)
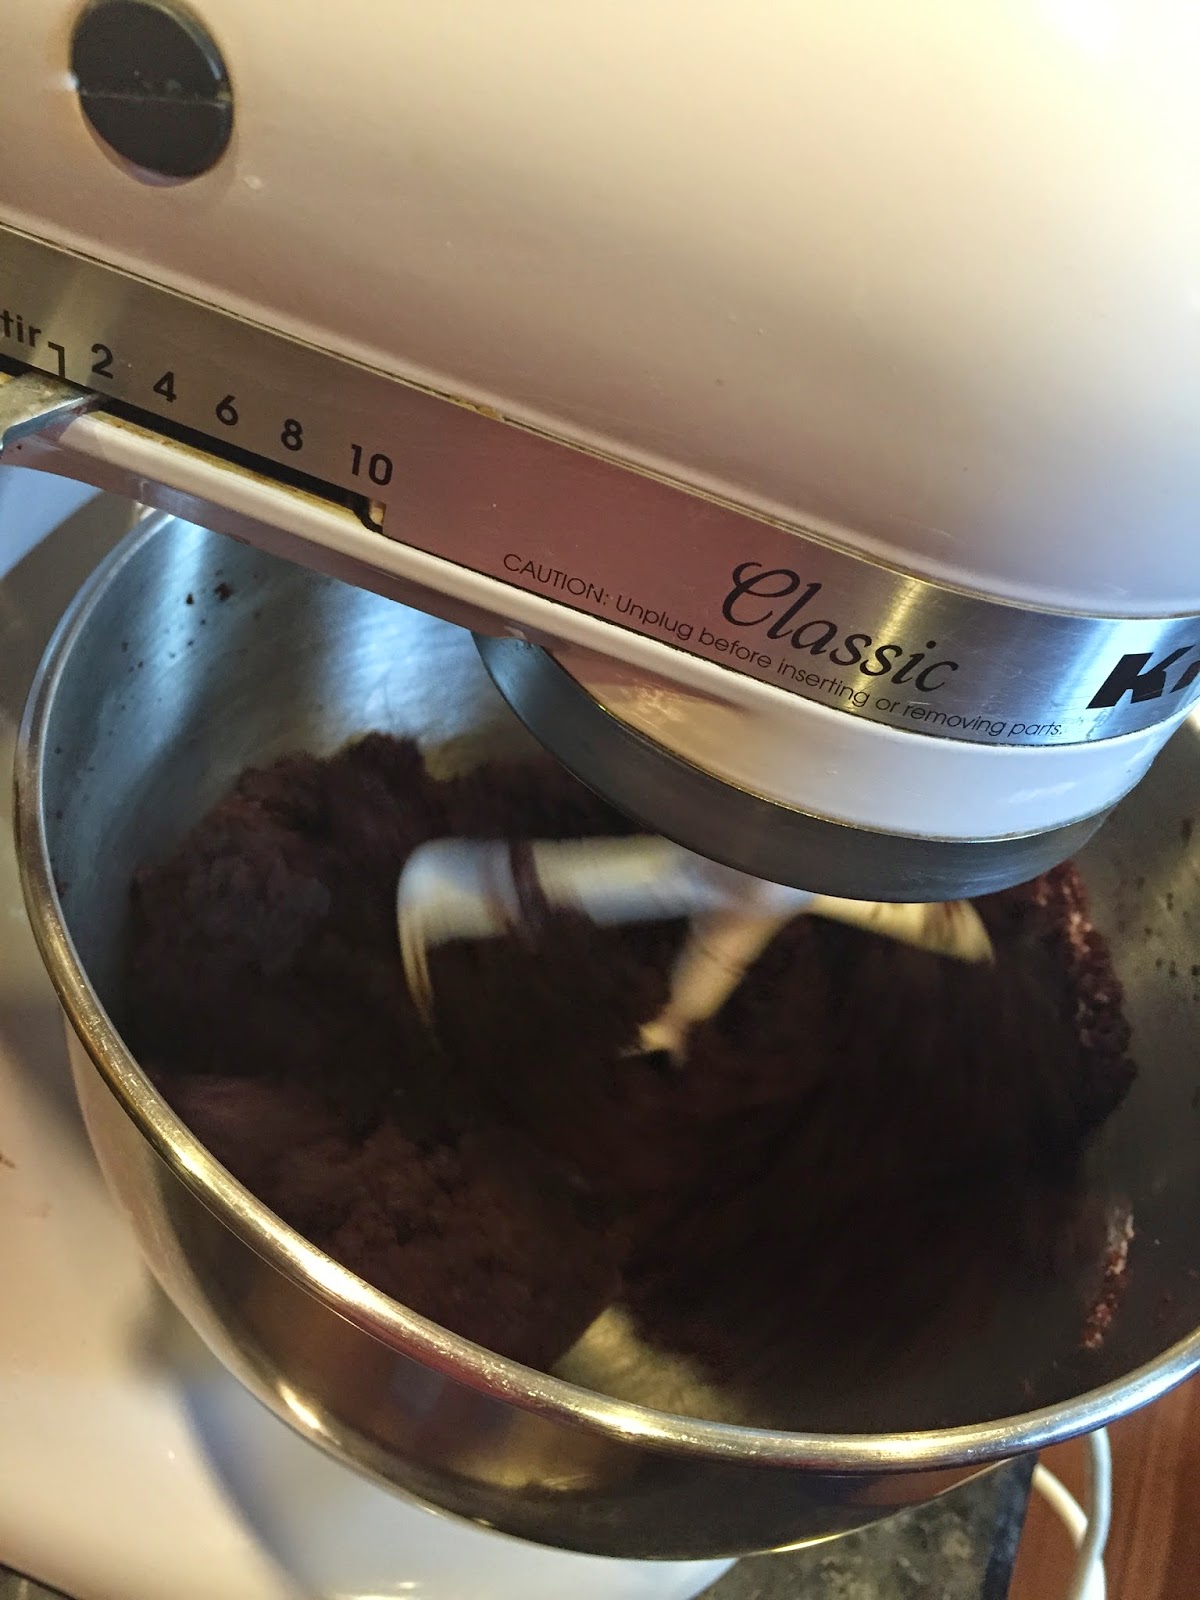
So, here, I started out with a chocolate cake and I crumbled it up and placed it in my mixer. When I make cake pops, usually, I use whatever scraps I have in the freezer. You know, those extra cake domes you cut off the top of your cakes to make them all level? Yeah. I turn those into cake pops. But you can use a freshly baked cake too which is what I do when I make these for clients. It just hurts your soul a little more when you see it crumble in front of you. My condolences.

The next step is to add some frosting. Recipes online will tell you to add 1/2 cup of frosting to each cake mix cake recipe you use. I say, throw that recipe away and burn it because the only way you can successfully make the right cake pop consistency is by watching it carefully and adding a little frosting at a time. I explained to my class that each kind of cake has a different level of moisture. Chocolate cakes, for example, don't need as much frosting as a yellow or white cake. So I add a small scoop (tablespoon or so) at a time,
until the cake starts to come together like a big ball of bread dough. Then, add a small scoop just for good measure and you'll be ready to roll.
STEP TWO: Roll Cake Pop Balls
The next step is rolling the cake pop "dough" into balls. I make my cake pops about 1" to 1 1/2" in diameter, but you can make yours larger or smaller depending on your design. I roll mine out and place them on a cookie sheet if I'm going to make them the same day, or in a Pyrex 9X13 pan with a cover and refrigerate them for about 30 minutes or overnight.
STEP THREE: Get Your Chocolate Ready
This is probably the most messed up step. You really want to make sure that your chocolate is a smooth and almost runny consistency. Thinner than pudding, but thicker than water. You can see from the picture below, it nicely drips off of my spatula. If it's too thick, you'll really have a hard time dipping the pops. They'll be weighted down and you might find them sliding off the sticks.
If your chocolate is too thick, add Crisco Shortening, about a tablespoon at a time until you reach the desired consistency. You'll see that adding the shortening will also add a nice sheen to the chocolate as well. Good stuff.
You can also see that I'm using the
Wilton Chocolate Pro Melting Pot. It is the most wonderful item I've added to my kitchen in the last decade. Please invest in one. You can use it for so many other things outside of cake popping (like fondue, all of your Christmas chocolates...it's awesome). It's electric, it
keeps your chocolate at just the
right temperature for melting (but not burning). I can't say enough good things about it.
If you want to COLOR your white chocolate (and you don't use the already colored Wilton Candy Melts, (which I prefer over ALL OTHER CHOCOLATE for melting purposes) use
CANDY food coloring. Wilton sells some, but you want to make sure that it's oil-based food coloring. Adding water-based food coloring or even the Wilton Gel colors will cause issues with the chocolate. Don't do it. Get the right kind of stuff.
STEP FOUR: Add the Sticks
This step is optional. If you want to make the official cake POP then continue on. But you can skip this step if you just want to make some cake truffles (which taste the SAME as Cake Pops, by the way...)
To add the sticks, remove your rolled cake balls from the 'fridge. Take a stick (I like the Wilton Cake Pop sticks - they come in a variety of lengths) and dip it into the chocolate, THEN into your cake ball, about half-way to the center (not all of the way through the cake ball). Do this for all of them and return them to the 'fridge for about 20 minutes or so. Re-refrigerating them here will allow that chocolate to harden and will keep the stick securely placed in the cake pop.
Everyone in class got to impale a cake ball with a stick.
STEP FIVE: Dipping the Cake Pops in Chocolate
Now that your cake pops are nicely chilled again, take them out of the 'fridge and let them rest for a few minutes to get the chill and condensation that will build to dry off a bit. Chocolate absolutely HATES water. It's a bad mix. So the condensation on the chilled cake pops can ultimately ruin your chocolate consistency if you add them to the chocolate right away. This is also why I don't freeze my cake pops before dipping them any more. I found that once they came to room temperature, the chocolate would begin to crack.
So, once you see that the condensation is gone, start dipping your cake pops. You want to make sure that the chocolate is covering the entire cake pop, up to and including the stick area. Once it's all covered, you'll have to remove the excess chocolate by tapping the chocolate off. I use the rim of my Chocolate Pro and tap the stick against that while keeping the actual cake pop right above the chocolate below. The excess chocolate just drips right back into the pot.
Continue to tap the cake pop and rotate it as best as you can to ensure that all of the excess chocolate is removed. But here's the trick - if you plan to add sprinkles to your cake pop, you can't do this too long or the chocolate will harden. But if you don't do it long enough, the chocolate will slide down the stick and create a mess. This is, unfortunately, a trial and error skill. You'll just know (eventually) when it's ready.
STEP SIX: Decorating your Cake Pops
One of my favorite ways to decorate cake pops is to simply roll them in sprinkles. Because this class took place in October, I themed all of the decorations to Halloween, but you can certainly modify the decorations as you see fit.
To get them covered in sprinkles, after you've tapped and removed all of the excess chocolate from the cake pop (in Step 5), you gently roll the cake pop in the sprinkles (like I'm doing below). Make sure that you get the top of the cake pop too.
I'm not even kidding. It's that simple.
You can also add items to the cake pops after the chocolate has hardened by using melted chocolate as the glue.
STEP SEVEN: Finishing the Cake Pop
Technically, you could be done with your cake pop. I always like to wrap mine and I use decorative ribbon to finish them off. I think it adds a really nice finish to the cake pops and it allows the cake pops to travel a little more graciously.
We had such a great time making and decorating cake pops! Here's my fabulous class (minus Nicole who had to leave a little earlier) with their bouquets of cake pops!
Thanks, Ladies, for a wonderful Saturday afternoon!
(And also thanks for the pictures! The only one I took was this last one of the group.)